Friday evening - 7:30 to 10:30:
With the "roughing in" of the fittings completed, I figured I might as well continue on with other deck-related projects. Time to to work on the hatches, a.k.a., deck plates!!
Now I know why I ran two strips up either side of the centre line on the boat - to give a full-length centre line of the boat!! Simply align the bolt-down holes on the deck plate between these two strips and you automatically have it centred!! Yeehaa!!
Using Gorilla Tape I held the plate in place while I ran a 1/2" perimeter mark.
 |
| Plate held in place for marking. |
Next thing to do was drag out the jig saw and cut the deck. I remember being apprehensive about doing this last year with the Point Bennett but this time it was like "OK, I got the lines marked so let's cut this sucker!!!"
Cutting was uneventful - thankfully!
Next I cut a baseplate of 4mm marine plywood (the last remnants of my S&G build). I tacked the baseplate with the glue gun. Had a beer to bolster my courage!!
 |
| Tacked in place! |
And proceeded to fill in the gaps - using scrap strips!
 |
| Filling in the gaps!! |
After about 1 hr of cutting and gluing, I had the deck plate cased in. The last piece fit in without any trimming at all. A good omen!!
 |
| Nary the bit of trimmin' required!! |
 |
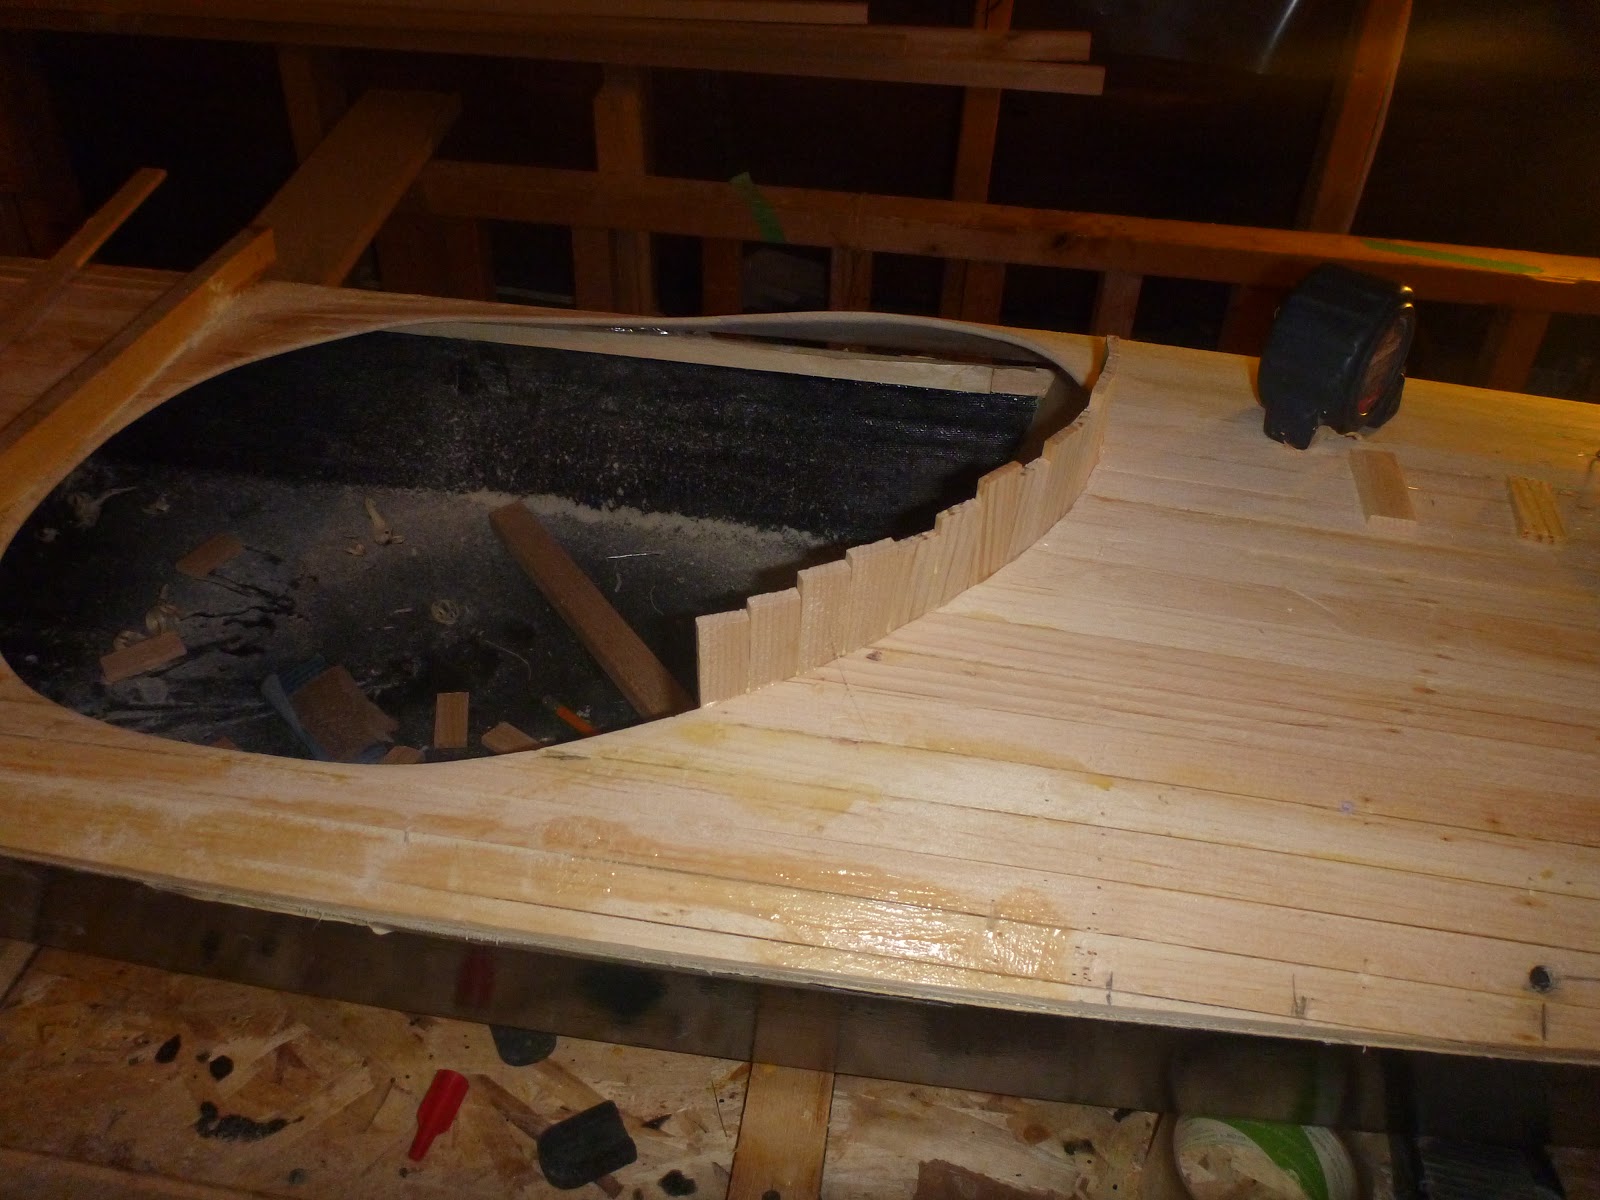
| The front hatch recess - in the rough!! |
 |
| In the rough #2. |
With the front roughed in, why not tackle the rear? The rear hatch is on the perfectly flat back deck so there is no need of recessing - other than a simple plywood spacer to drop the level of the deck plate to the level of the deck!! Easy peasy!!
Just mark the hole, take the jigsaw and cut!! This gets easier every time!!
 |
| Hole cut!! |
 |
| Spacer tacked in place. Looks good. |
Two hatches in place in an evening's work is fine by me,
On Saturday AM. I ran a fillet of epoxy around the underside of the hatch. Sorry no pictures!
Saturday 7:00 to 9:00
Saturday evening I decided to tackle the cockpit coaming. I've decided to go with the wood/glass hybrid so the first job is to create the wooden riser!! I used scrap pine strips.
The strips were affixed to the deck via hot glue and bonded together with wood glue. The system worked great and in less than two hours I had the riser completed. Not bad for two hours work!! Left enough time to watch an NBA game on TV with my son. Nice to be back "in the land of the living" as they say!!!
 |
| Let the games begin . . . |
 |
| . . . . and finish!!! |
Afterwards, I took a few shots of the boat as it now looks.
 |
| Front hatch - sanded and ready for glass! |
 |
| Starboard aft shot. Hatches laid in place. Riser in place but not trimmed. |
 |
| Starboard bow. Looks good to me!! |
I'm into the nitty gritty work so things will appear to slow down. But every bit of work completed is one step closer to the launch of the Black Pearl!!
Thanks for dropping by.
Sean
How big are those deck plates for getting dry bags, tents and all that lovely stuff through?? I seen those in a speed boat my uncle build a while ago, and thought it may work in a kayak. And so it does! just curious on the actual size of them
ReplyDeleteMy plates are about 8" inside diameter (10" outside) - which is pretty small for stowing camping gear. This boat is not designed for carrying capacity so the deck plates are simply to provide access to "below decks" and to carry small items for a day paddle. You can get 10" inside diameter (with a 12" outside ring.) They were a bit too big for my boat. I bought these at Mercer Marine for about 40.00 a pop.
ReplyDelete